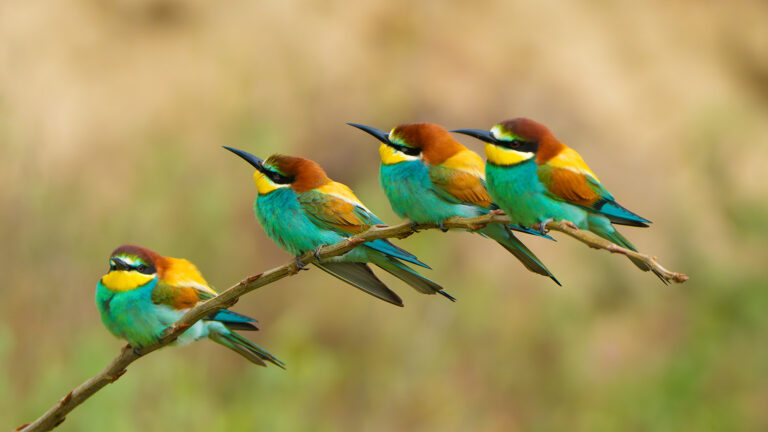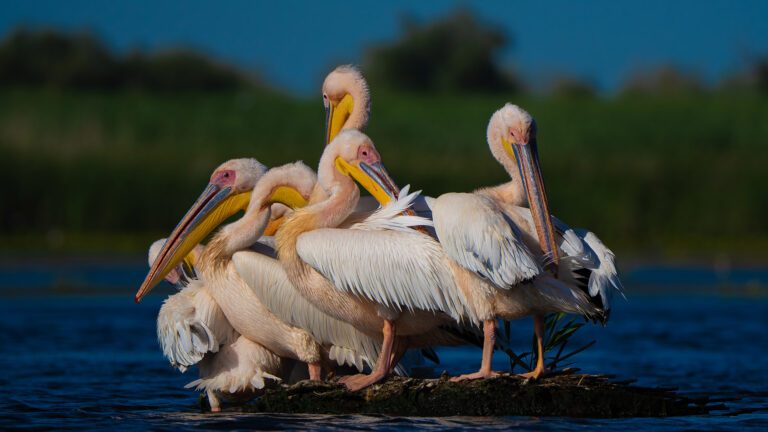
Haze is caused by tiny particles of dust, moisture, smoke, or pollution suspended in the air. These particles scatter light, reducing contrast and making distant objects appear faded or less defined. Haze is particularly noticeable in landscapes, where it can obscure mountains, forests, and cityscapes and in wildlife photography, where blurry and OOF effects can be noticed.
Reduced Contrast: Haze decreases the difference between highlights and shadows, making images look flat and washed out.
Loss of Clarity and Detail: The farther the subject, the more haze affects sharpness, leading to a lack of fine details.
Cooler Color Cast: Haze often introduces a blue or gray tint due to the way light scatters in the atmosphere.
Autofocus Struggles: Haze reduces the contrast of distant subjects, making it harder for autofocus systems to lock onto a sharp point.
Soft Focus Effect: Even when an image is technically in focus, haze can create a blurry or foggy appearance.
Dynamic Range Limitations: Cameras may struggle to correctly expose both the foreground and background when haze is present, often leading to overexposed skies or underexposed landscapes.
Use a Polarizing Filter: A circular polarizer helps reduce scattered light and can increase contrast in hazy conditions.
Increase Contrast in-Camera: Some cameras allow contrast adjustments in their settings; raising contrast slightly can compensate for haze.
Shoot in RAW Format: RAW files retain more image data, making it easier to adjust contrast, clarity, and color balance in post-processing.
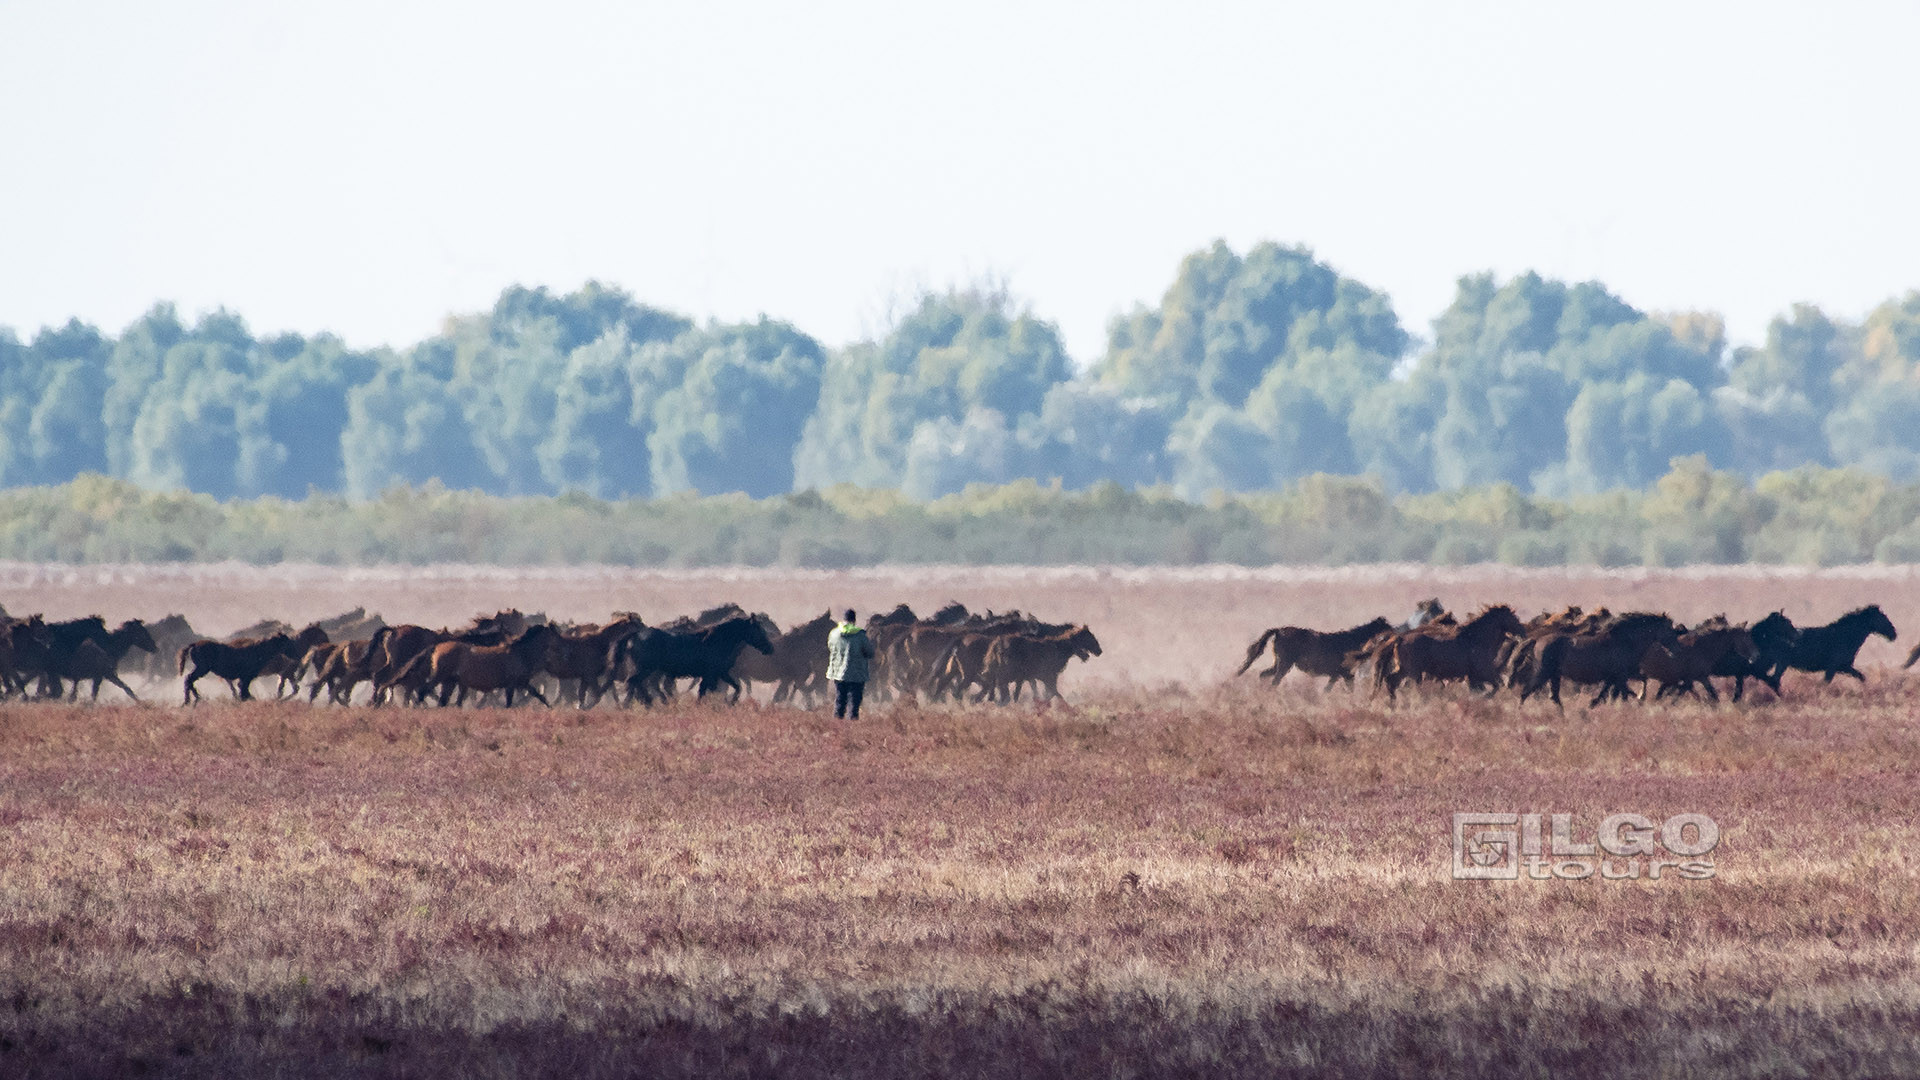
Avoid Using Telephoto Lenses in Hazy Conditions: While telephoto lenses can help isolate subjects, they also compress atmospheric haze, making it appear more pronounced. This is especially problematic in wildlife photography, where shooting birds or mammals from a distance in hazy conditions often results in images that are too blurry or “washed out” to be usable, even with post-processing.
Shoot Early or Late in the Day: Haze tends to be more prominent during midday when the sun is high. Shooting during golden hours (sunrise and sunset) can help minimize its effects.
After Rain or Windy Weather: Rain clears the air of dust and pollutants, reducing haze. Windy conditions can also disperse haze, leading to clearer views.
Dehaze Tool: Many editing programs (such as Adobe Lightroom and Photoshop) have a dehaze function that helps restore contrast and clarity. It works for a light haze, for accentuated haze, sometimes the pictures are lost.
Adjusting Levels and Curves: Manually increasing blacks, midtones, and contrast can help counteract haze effects.
Enhancing Colors: Using selective color adjustments to boost warm tones can counteract the cool cast of haze.
Best Lenses: Prime lenses with high contrast coatings, help reduce the effects of haze.
Polarizing Filters: Brands like B+W, Hoya, and Tiffen offer high-quality polarizers that effectively cut through atmospheric haze.
Tripods with Stability Features: A sturdy tripod helps with long exposures in low haze conditions.
Cameras with High Dynamic Range (HDR) Capabilities: Models like the Sony A7R series or Canon EOS R5 allow for greater detail recovery in hazy environments.
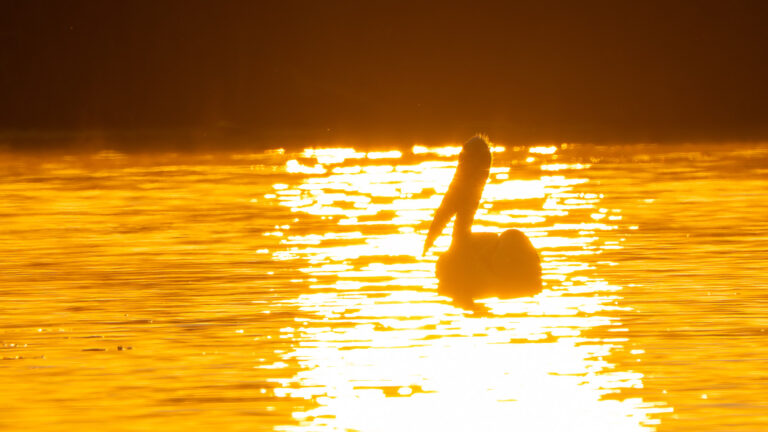
While haze is often considered a problem, it can also create mood and atmosphere in photography. Soft, hazy backgrounds can enhance depth in portraits, and misty landscapes can add an ethereal quality to an image.
Haze is an unavoidable element in outdoor photography, but understanding how to work around it – or even use it to your advantage – can elevate your photography skills. Whether adjusting camera settings, using filters, or applying post-processing techniques, minimizing haze ensures your images remain sharp, vibrant, and full of detail.